This is an old revision of the document!
Adding Clickable Images in Description
Clickable images are typically needed in landing pages or when you want to provide a visual map which can be clicked to take user to another location in Stages or even a weblink.
1. Select image map tool
A tool/website is required to create image maps. In this description the online image map generator image-map.net //is used to create the image maps.// You can also use your preferred solution.
2. Copy target link you want to apply to your image map
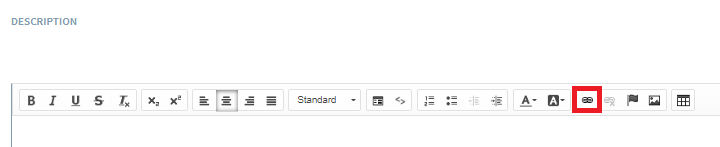
Open the editor and click on the Chain-icon
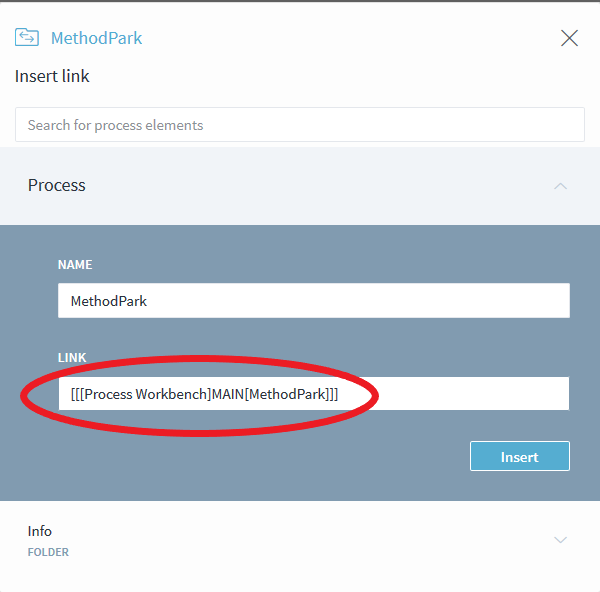
Navigate to the element which you want to link with your clickable area. Copy the link into the clipboard.
3. Switch to your preferred image map tool/website
In this example we explain the procedure using image-map.net
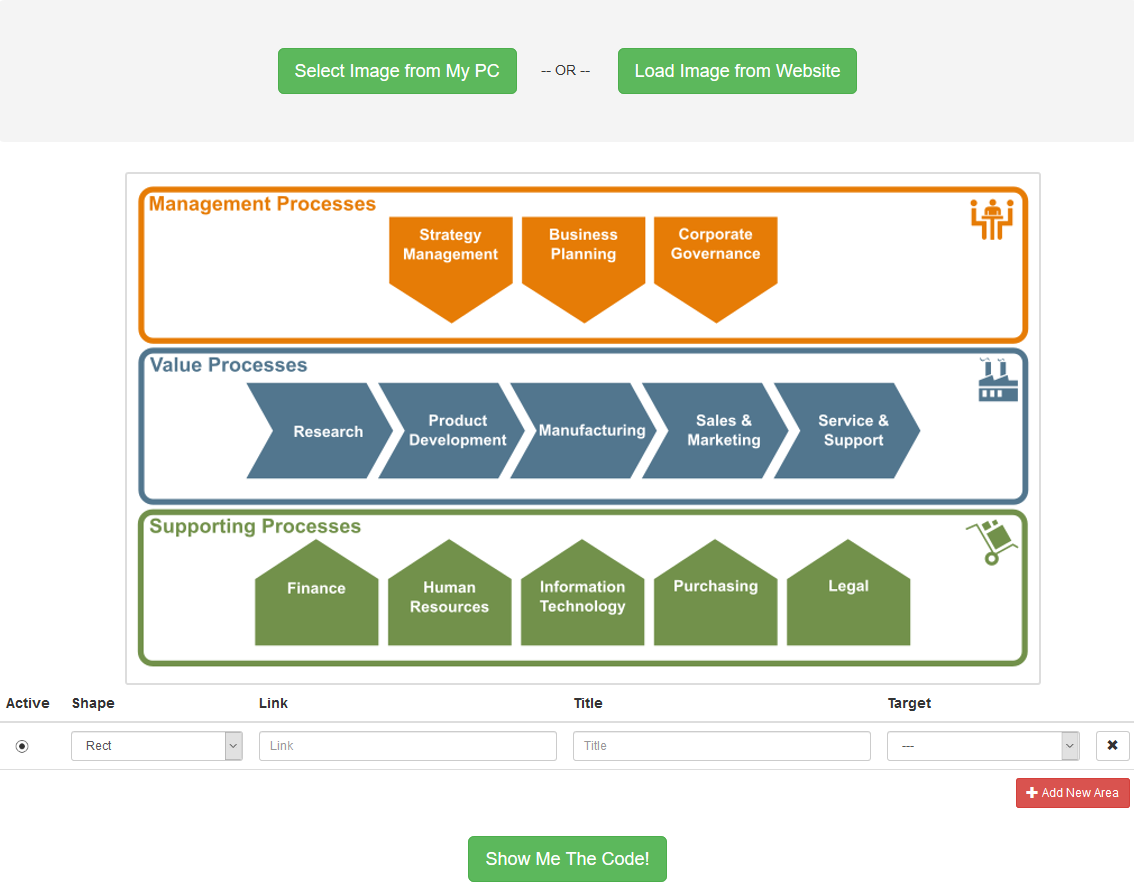
- Open the domain and choose a picture from your PC or load a picture from a website into the generator
- After you see your image, choose the shape for the clickable area and mark it in your image
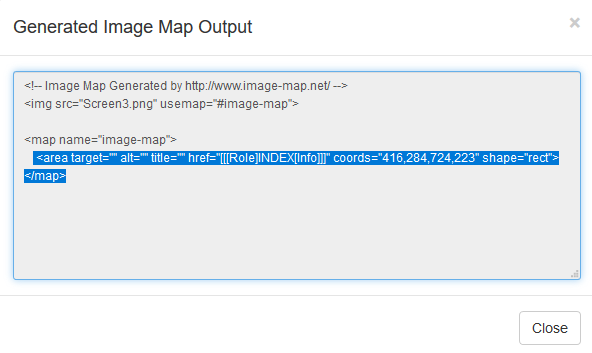
- Use the link you saved in the previous step of Stages. //Optionally you can assign a title. You can distribute additional areas if you want your image to have more parts to click on. * Click on //Show Me The Code!
- Please copy only the <area…> tags
4. Switch back to Stages
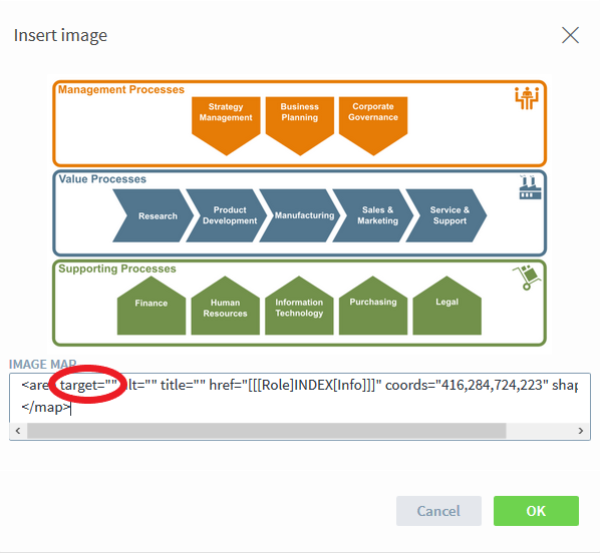
- Upload your image to Stages
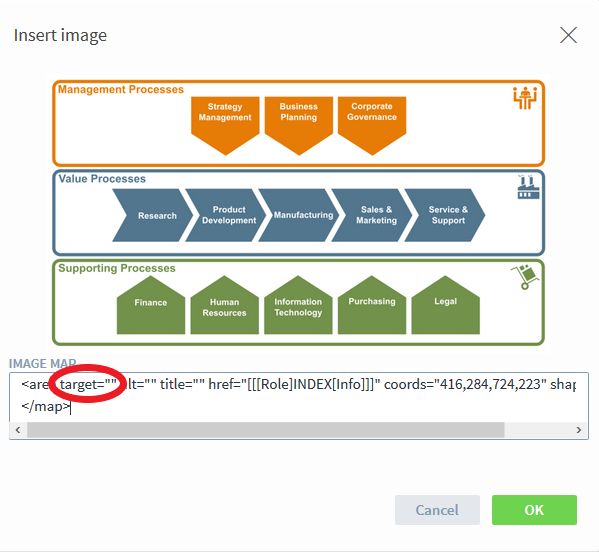
- Double-click on the image and paste the copied link into the Image Map field
- Manually delete the target=“”
- Make sure \, [,] characters are escaped correctly inside the link e.g.
- href=“y=123**[abc]**def” –→ href=“y=123**\[abc\]**def”
- href=“[Role]**ProjectManager\3**” –> href=“[Role]**ProjectManager\\3**
- Click on Save Your clickable image is ready to use.__
 //__ //