This is an old revision of the document!
Add Templates, Checklists and other materials
Checklists, Templates and other reference materials are very important to an organization. Checklists helps you keep track of projects on deadline and ensures you're organized throughout the day. Templates also enables you to maintain the same branding and layout of all your documentation across all your tasks and projects.
Templates, Checklists, Folder creation
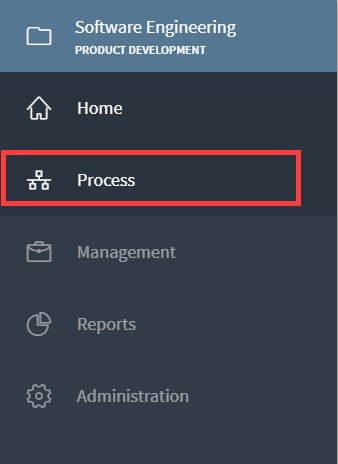
1. Click on Process.
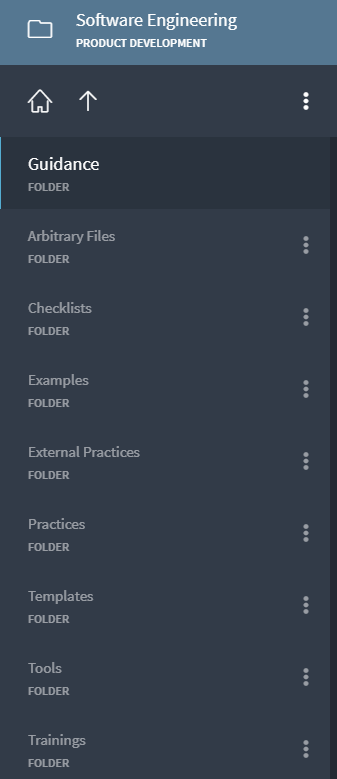
2. Select the “Guidance” folder under Process.

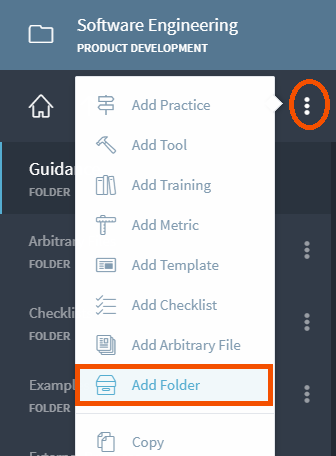
3. Click on the three dots on the right and choose “Add Folder”.
4. Create folders and name them as Templates, Checklists, Tools, Practices.. as listed below.
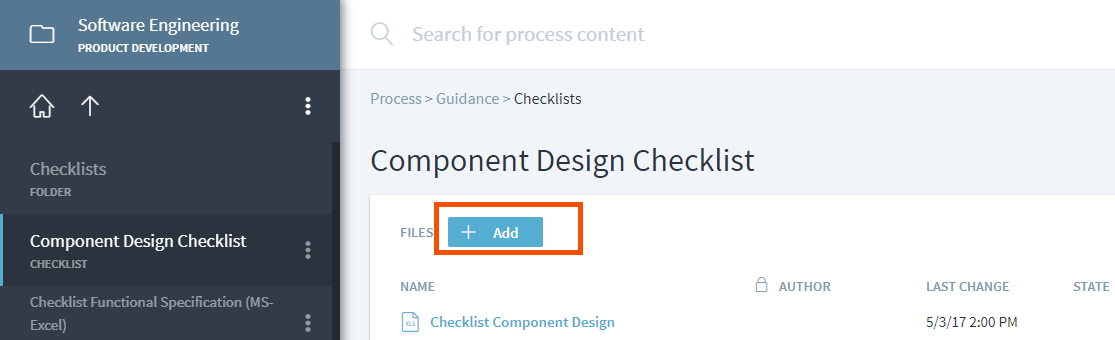
5. Let us create a new checklist under the Checklist folder. The checklist is named as Component Design Checklist. To create a checklist, click on the checklist folder, click on the three dots on the right corner and press add checklist.


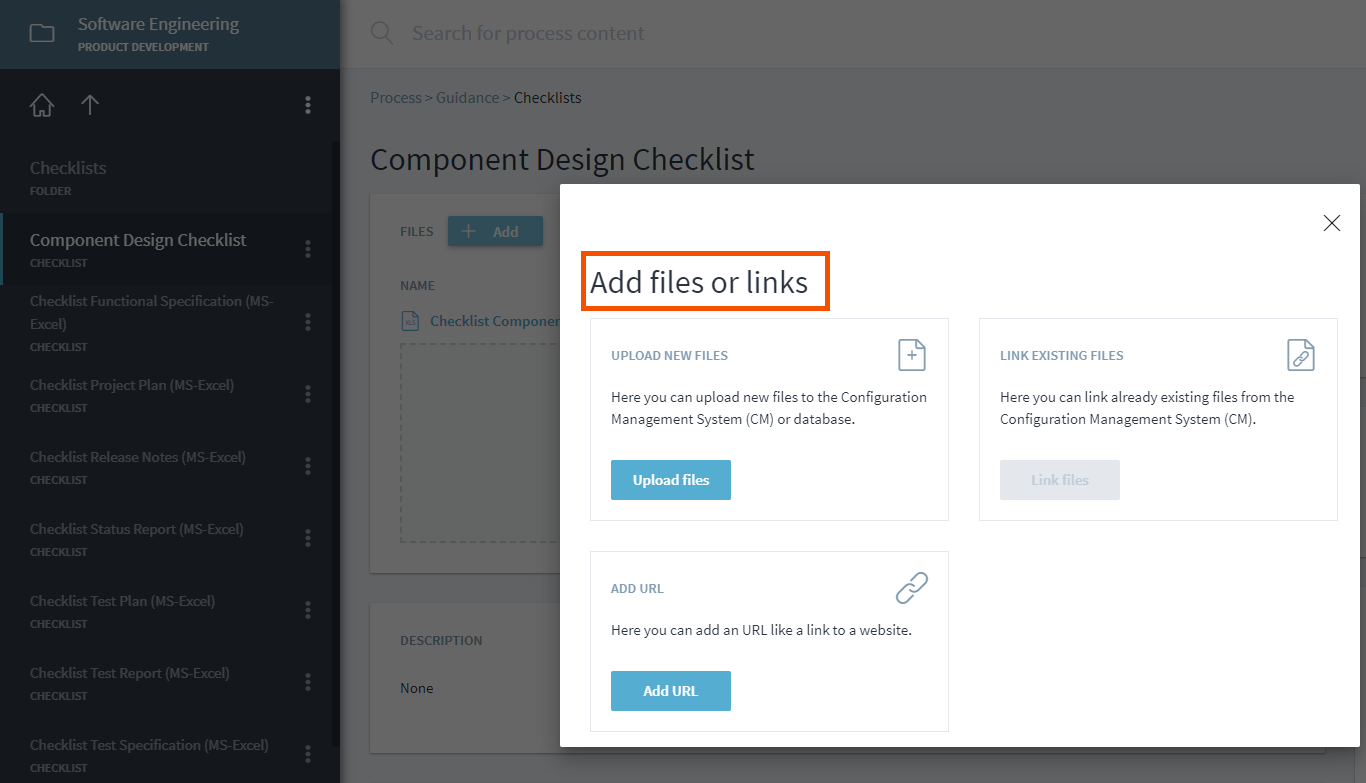
Adding Files to Guidance material
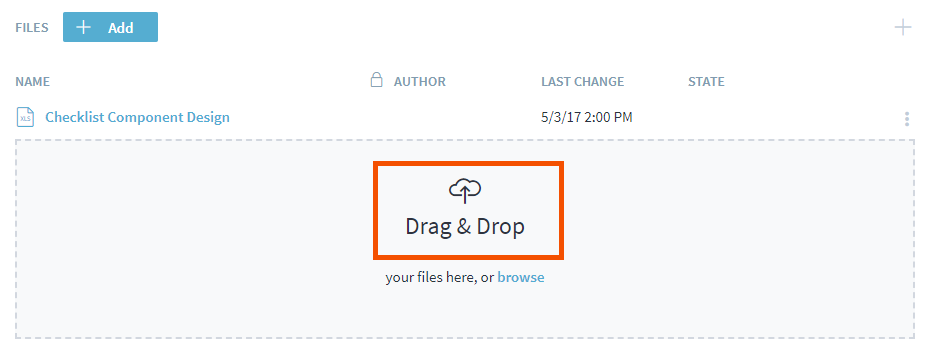
1. Click on the Component Design, click on <font inherit/inherit;;#3498db;;inherit>ADD</font> button. Once the <font inherit/inherit;;#3498db;;inherit>ADD</font>button is pressed, new files can be uploaded or the drag and drop feature can also be used. Checklist are usually in word or excel format.
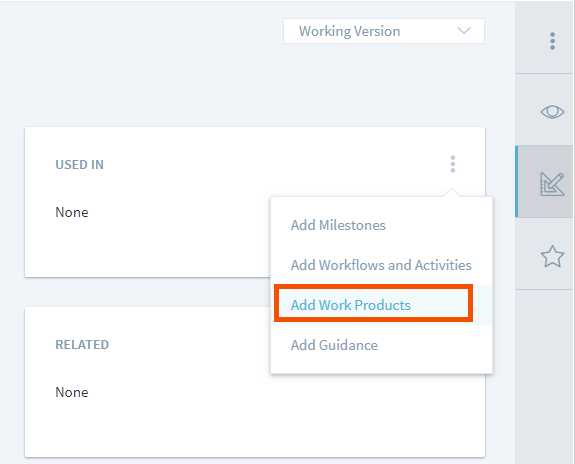
Associations to Work Product, Workflow Activities or Milestones.
Once the template, checklist has been created. It has to be linked to the objects in the metamodel. Let us assume the Checklist “Component Design” is linked to the workproduct Component design.
Click on the three dots in the “Used in” box and choose Add workflow and activities. After that type the name of the workproduct, If the workproduct is already present in the process, Stages automotically displays it.
If not the new workproduct can be created. In this case Component design workproduct is already present in the System and Software design folder.

Note
The following guidelines/ procedure can be used for other Gudance objects too.(Templates, Tools, etc).