Adding Clickable Images in Description
Clickable images are typically needed in landing pages or when you want to provide a visual process map that can be clicked to take the user to a specific process element (like workflow, activity, guidance, etc.) in Stages or even an external weblink. Creating a clickable image involves two high-level steps:
- Uploading the image in an editor/description box of the desired location
- Updating the image map by double-clicking on the image and copy-pasting the map information in this box
Create a Clickable Image
1. Upload the image in an **editor/description box** **of the desired location. **Click on the insert image icon and upload the image for which you want to add clickable links.
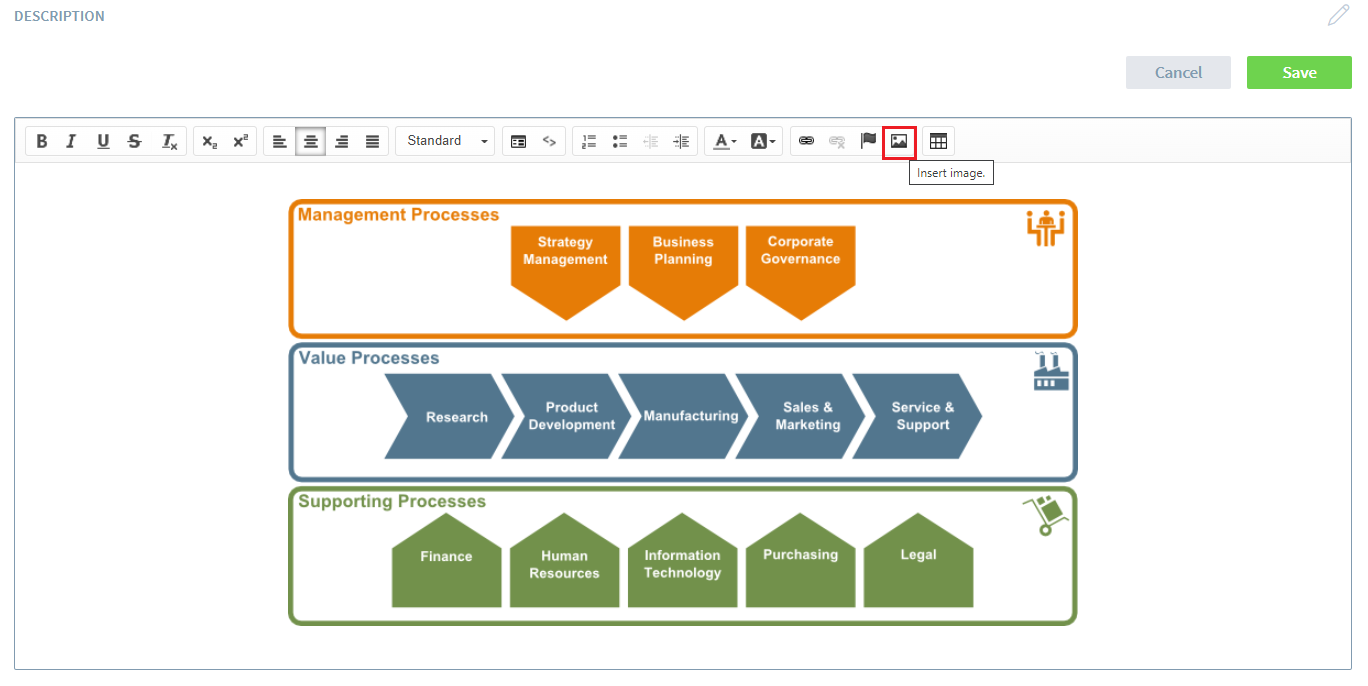
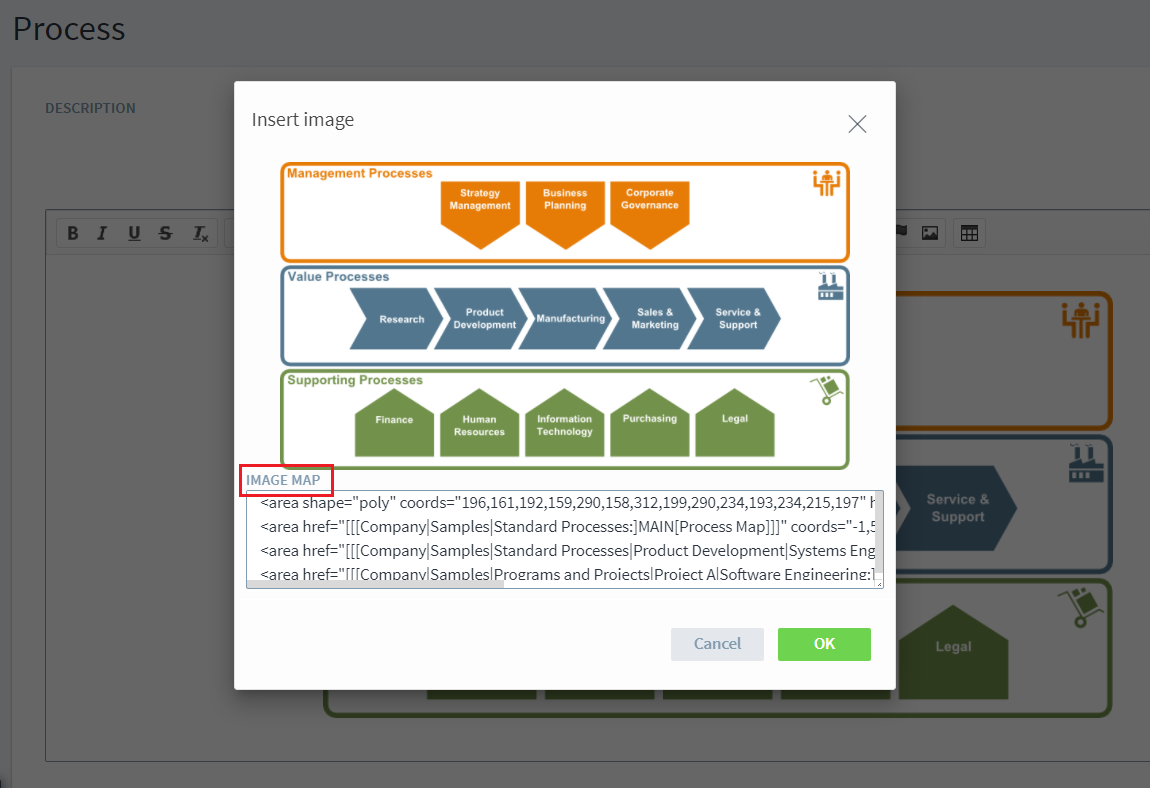
2. Update the image map by double-clicking on the image and copy-pasting the map information in this box. This step specifies the areas in the image where a user can click to be taken to a specific link.
Retrieving link information to be pasted in this image map involves a few steps which have been described in the next section.
Generate Image Map Information
A desktop / online tool is required to generate the image map information. For this documentation the online image map generator image-map.net //is used to create the image maps.// You can also use your preferred solution.
Steps to generate Stages links
First, generate in Stages a list of all the links that you want to use in the clickable image.
- Open the editor/description box and click on the chain-link icon
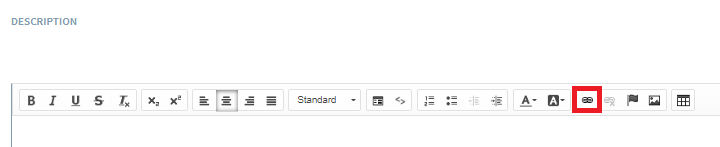
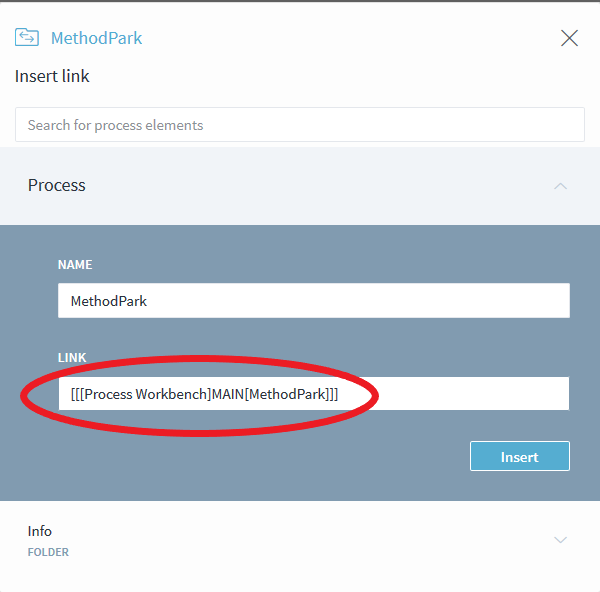
- Next, navigate to the element which you want to link with your clickable area. Copy the link into the clipboard. Repeat this step with all the links and save them in a clipboard. **Note: **Do not click on insert. Just copy on a clipboard/notepad.
Steps to work in Image map tool/website
With the list of links, switch to your preferred image map tool.
In this example, we explain the procedure using image-map.net
- Open the domain and select an image file from your PC or load an image from a website into the generator
- After the image is uploaded, choose the shape for the clickable area and mark it in your image
- Use the link you saved in the previous step of Stages. // - Optionally you can assign a title. You can distribute additional areas if you want your image to have more parts to click on. - Click on //Show Me The Code!
- Please copy only the <area…> tags
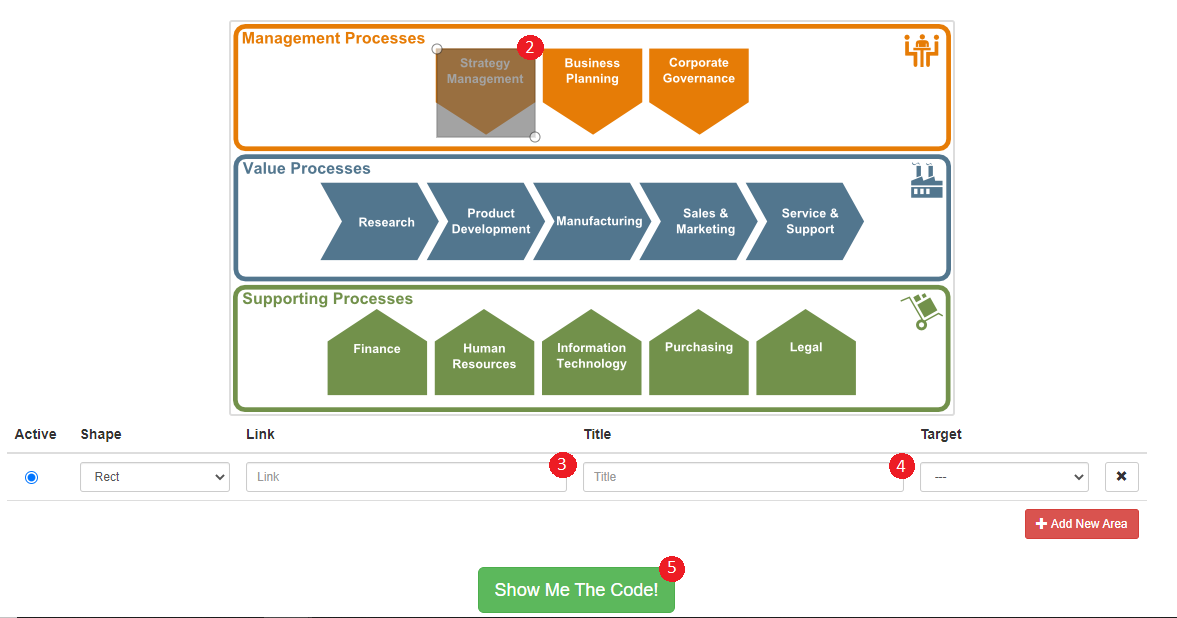
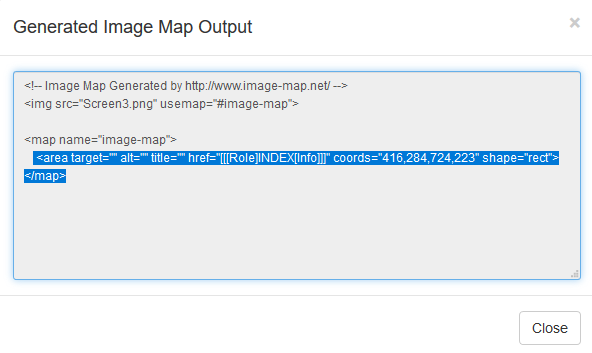
Clean up the image map output
Before pasting the image map output in the image map section in Stages, it requires some clean-up. Copy the output in a clipboard and perform the steps below:
- Manually delete the string target=“”
- Make sure \, [,],:,# characters are escaped correctly inside the link e.g.
- href=“[[www.testurl.com/y=123[abc=#3:2]def]]” –→ “[[www.testurl.com/y=123\[abc=\#3\:2\]def]]
- href=“[[[Role]ProjectManager\3]]” –→ href=“[[[Role]ProjectManager\\3]]“
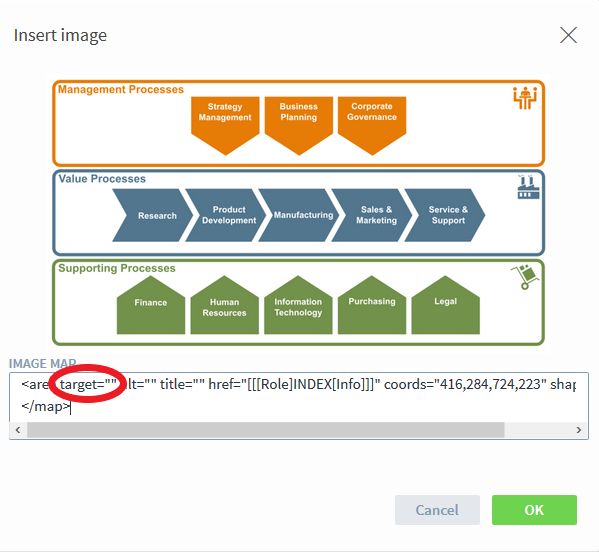
This** cleaned-up image map output** is now ready to be pasted in the image map section in Stages.